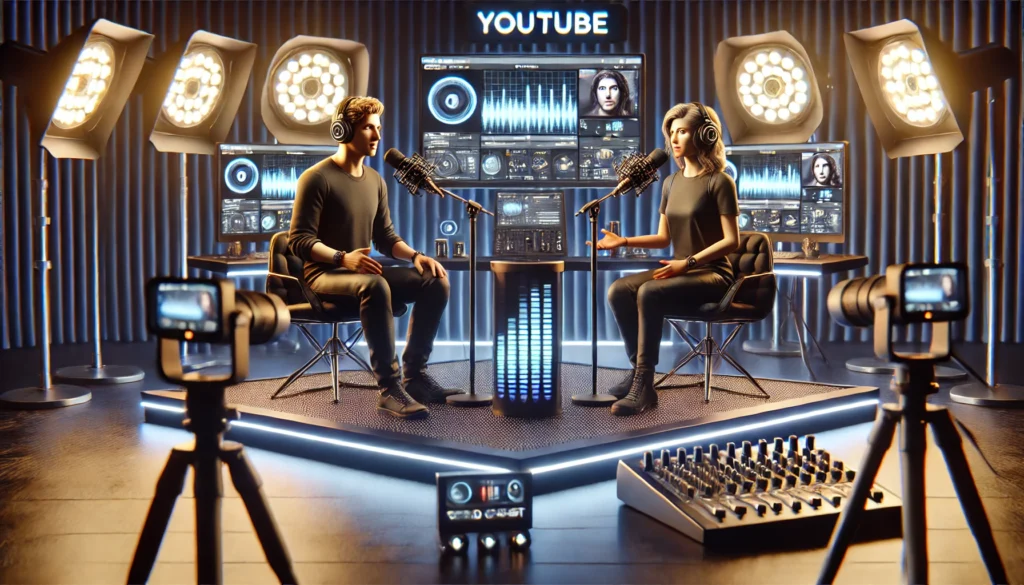
Creating engaging content for social media, especially YouTube, is essential to capturing audience attention. Using 3D characters instead of traditional live-action videos enhances visual appeal, improves viewer retention, and expands creative possibilities. This guide provides an advanced workflow for producing high-quality 3D animated podcast videos using tools such as FaceBuilder, Character Creator 4, iClone 8, and AccuFace.
By following these steps, you can animate realistic 3D characters, simulate real-time motion capture, and generate a professional virtual podcast featuring two animated avatars.
Phase 1: Character Creation and Customization
Face Image Acquisition and Processing
Steps
Description
1. Capture Images
Use high-resolution frontal and side-profile images for accurate 3D head reconstruction.
2. Use AI Tools
Utilize AI-powered face reconstruction software to generate a 3D mesh from the images.
3. Ensure Quality
Ensure good lighting, no shadows, and proper face angles for the best results.
FaceBuilder Head Plugin Integration
Steps
Description
1. Import 3D Mesh
Load the generated 3D face mesh into Blender with the “Face Builder” plugin.
2. Adjust Features
Modify facial proportions, refine eye spacing, nose shape, and mouth contours.
3. Add Skin Textures
Apply realistic skin materials, UV mapping, and textures.
Tip: Ensure symmetry in facial features for a more natural look.
Character Creator 4 Integration
Steps
Description
1. Import 3D Mesh
Export the refined OBJ/FBX file from Blender and load it into Character Creator 4.
2. Customize the Face
Use Headshot plugin to blend the custom face with a character base.
3. Modify Body Shape
Adjust the character’s height, muscle definition, and proportions.
4. Choose Outfit
Select from costumes, hairstyles, accessories, and facial hair.
5. Fine-Tune Details
Adjust skin tones, textures, eye colors, and body materials.
Tip: Apply Substance Painter or Photoshop for additional texture customization.
Phase 2: Animation and Motion Capture
iClone 8 Integration
Steps
Description
1. Import Character
Load the Character Creator 4 model into iClone 8.
2. Set Up Environment
Create a virtual studio with props, lights, and cameras.
3. Apply Motion Capture
Use AccuFace for real-time facial tracking and body animation.
AccuFACE Real-Time Motion Capture
Steps
Description
1. Webcam Tracking
Use a webcam or phone camera to capture facial expressions.
2. Sync Expressions
AccuFace applies blinks, eyebrow movements, and mouth articulation.
3. Record Each Character Separately
Capture both podcast characters individually for better control.
Lip Sync and Body Motion Capture
Steps
Description
1. Import Dialogue
Load pre-recorded voiceovers into iClone 8.
2. Automatic Lip-Sync
Use AccuLips for AI-driven lip movements matching speech.
3. Manual Adjustments
Use the Viseme Editor to refine phoneme transitions.
4. Body Motion Capture
Use Kinect, Leap Motion, or keyframe animation for full-body movements.
5. Combine Animations
Merge facial and body motion for a seamless performance.
Tip: Use hand animations to add gestures for a more natural podcast feel.
Phase 3: Podcast Creation and Video Production
Audio Editing and Mixing
Steps
Description
1. Clean Audio
Remove background noise, pauses, and audio distortions.
2. Balance Sound
Adjust volume levels, EQ, and compression.
3. Add Background Music
Use royalty-free soundtracks or podcast-style ambiance.
Scene Composition and Lighting
Steps
Description
1. Arrange the Scene
Position characters, microphones, and props in the podcast studio.
2. Set Lighting
Use HDRI maps, spotlights, and soft shadows for realism.
3. Add Camera Angles
Implement wide shots, close-ups, and dynamic angles for engagement.
4. Use Depth of Field
Apply DoF effects to create a cinematic look.
Rendering and Post-Production
Steps
Description
1. Render in iClone 8
Export in 4K/1080p, 30-60 FPS for the best quality.
2. Edit in Premiere Pro
Refine cuts, transitions, and add motion graphics.
3. Color Correction
Apply grading for a consistent tone.
4. Export for YouTube
Use H.264 MP4 format for best compatibility.
Tip: Optimize video bitrate and resolution for smooth YouTube playback.
Key Considerations
Factor
Importance
Performance Optimization
Ensure smooth playback by optimizing model polycount and textures.
Lighting and Rendering
Use global illumination and high-quality shadows for realism.
Audio Quality
Ensure crisp voiceovers and noise-free dialogue.
Storytelling and Engagement
Structure conversations for better audience retention.
Consistency
Maintain character continuity throughout the production.
Practice & Iteration
Refine techniques over time for improved animations.
Conclusion
Using advanced 3D animation tools like FaceBuilder, Character Creator 4, iClone 8, and AccuFace, you can create engaging podcast-style videos for YouTube and other social media platforms. This workflow enables high-quality character animation, real-time motion capture, and compelling visual storytelling.
By following this step-by-step guide, you can produce professional 3D content that stands out on YouTube, attracting a wider audience and elevating your brand’s visual appeal.