Recording yourself cooking is a fantastic way to share your culinary creations, whether you’re starting a YouTube cooking channel, going viral on Instagram Reels, or simply archiving your favorite recipes. Even if you’re using just a mobile phone, you can produce high-quality cooking videos with the right setup and strategy.
📌 How Do People Record Cooking Videos by Themselves?
People use multiple methods depending on space, lighting, and their recording gear. Here’s how it’s usually done:
1. Overhead or Top-Down View
Ideal for recipe tutorials where only the hands and ingredients are shown. This shot is usually recorded using:
- A tripod with an overhead arm
- A DIY rig attached to cupboards
- Or a flexible clamp above the counter
This angle provides clarity and focus on the food-making process.
2. Frontal or Side Shots
Used when creators want to engage the audience with their facial expressions and commentary. This requires:
- A tripod placed in front or diagonally
- Framing from waist-up or head-to-toe, depending on kitchen space
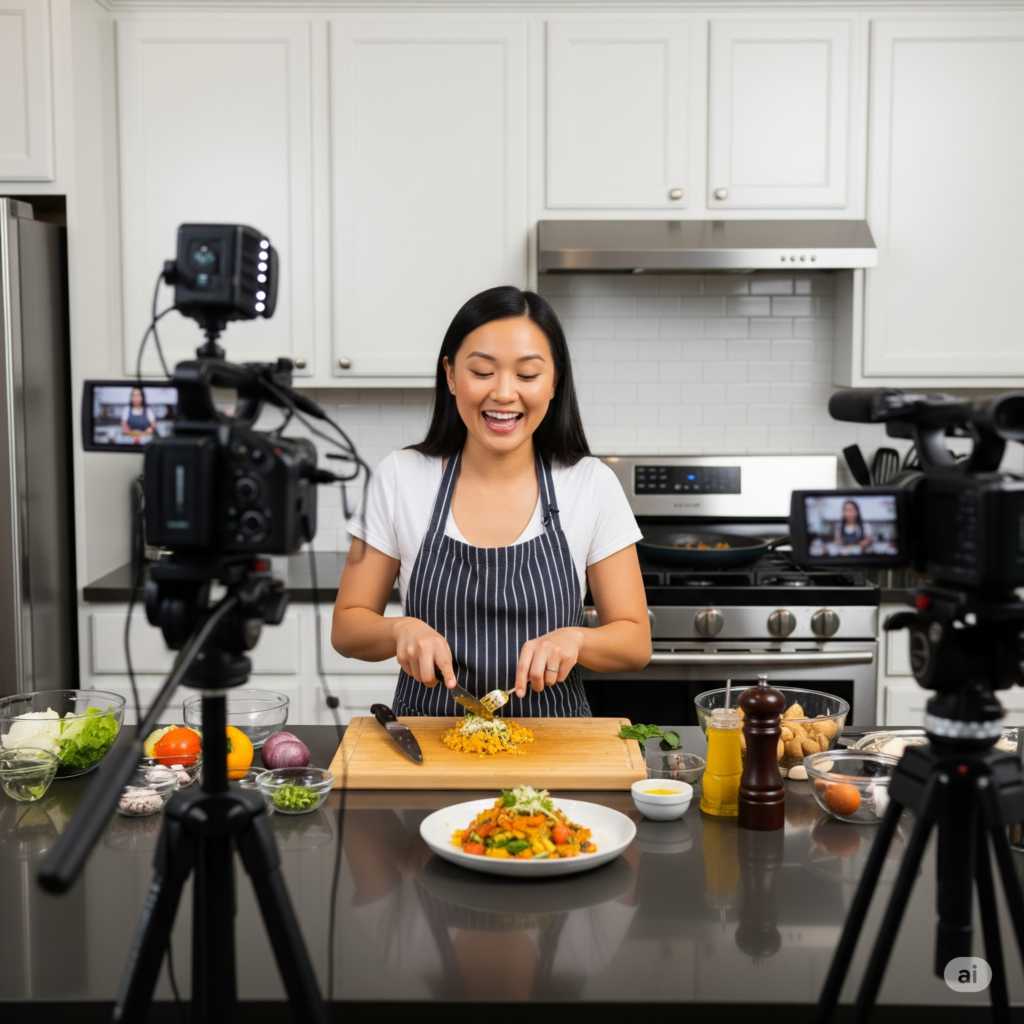
3. Multi-Camera or Multi-Angle Setup
Popular among serious food creators. One mobile phone or camera is used for overhead shots, and another for a side or front-facing view. These are edited together later for a dynamic feel.
📲 Can I Do This Using Only My Mobile Phone?
Yes! Many famous cooking creators (especially on TikTok and Reels) use just their smartphone. With the right accessories and apps, smartphones can deliver professional-grade results.
Find gears for self cooking video
🎥 What Camera Should You Use for Self-Cooking Videos?
Here’s a quick breakdown based on your experience and budget:
| User Level | Recommended Camera | Notes |
|---|---|---|
| Beginner | Smartphone (iPhone 12+, Samsung S21+, etc) | Use with a tripod + ring light for good results |
| Intermediate | Sony ZV-1, DJI Osmo Pocket 3 | Flip screen, good mic, auto-focus |
| Advanced | Sony ZV-E10, Canon R50, Lumix GH5 | Interchangeable lens, pro lighting, post-editing |
🧰 Essential Accessories for Mobile Recording
| Accessory | Why You Need It |
|---|---|
| Tripod + Overhead Arm | For stable top-down cooking shots |
| Phone Holder | Keeps your phone stable and adjustable |
| Ring Light or LED Panel | Makes food look vibrant and well-lit |
| Lavalier/Wireless Mic | Ensures your voice is crisp over kitchen background noise |
| Bluetooth Remote | Lets you start/stop video hands-free |
| Reflector Board | Balances shadows and improves food visuals |
| Clip-on Lenses | Adds macro or wide views on mobile phones |
🎛️ Mobile Camera Settings for Cooking Videos
Fine-tuning your camera settings can boost quality without buying new gear.
| Setting | Recommendation |
|---|---|
| Resolution | 1080p for web, 4K if editing on PC |
| Frame Rate | 30fps (regular), 60fps (for slow motion) |
| Shutter Speed | 1/60 for 30fps, 1/120 for 60fps |
| ISO | Keep below 400 for low grain |
| White Balance | Manual Daylight or Kelvin 5500–6000K |
| Focus | Tap to lock or use manual focus apps |
| Exposure | Lock it after adjusting brightness |
Pro apps: Filmic Pro, ProCamera (iOS), and Open Camera (Android)
🎨 Editing Tips for Self-Cooking Videos
After shooting, editing brings your content to life. Use tools like:
| Tool | Best For |
|---|---|
| CapCut | Free, fast social edits |
| VN Editor | TikTok and Instagram Reels |
| InShot | Easy mobile video editing |
| Adobe Rush | More serious workflows |
Editing Tricks:
- Trim dull moments
- Add text for recipe steps
- Use transitions between angles
- Overlay background music or voice-over
Find gears for self cooking video
🎯 How to Make Your Kitchen Setup Video-Ready
✔️ Background
- Keep counters clear
- Use neutral or aesthetic backdrops
- Hide unwanted utensils or items
✔️ Lighting
- Use natural daylight near a window when possible
- Supplement with LED lights if needed
✔️ Sound
- Avoid fans, dishwashers, or outside noise
- Always use an external mic for best results
🧑🍳 Shooting Techniques That Engage Viewers
| Tip | Description |
|---|---|
| Use Multiple Angles | Mix overhead and frontal views |
| Speak or Voice-over | Explain what you’re doing in a conversational tone |
| Zoom on Key Details | Show texture changes, sizzling sounds, or garnishing |
| Keep Clips Short | Aim for 15–30 seconds per step |
| Include Call-to-Action | “Subscribe for more!” or “Link to recipe in description” |
✅ Quick Checklist Before You Start Recording
- Ingredients prepped (mise en place)
- Tripod/phone mount ready
- Lens cleaned
- Audio checked
- Lighting adjusted
- Scene clutter removed
- Test clip recorded
- Airplane mode ON
Find gears for self cooking video
📝 Summary Table: Self-Cooking Video Essentials
| Feature | Recommended Setup |
|---|---|
| Camera | Smartphone (1080p or 4K) or Vlogging Cam |
| Tripod | With adjustable height + overhead option |
| Audio | Lavalier mic or wireless clip-on mic |
| Lighting | Natural light or ring/LED light |
| Editing Tool | CapCut, VN, Adobe Rush |
| Best Shot Types | Overhead + Frontal + Detail Close-ups |
🚀 Final Thoughts
You don’t need a full studio to start filming delicious, aesthetic cooking videos. With thoughtful planning, even a basic smartphone setup can produce results that are clean, professional, and engaging. The secret lies in lighting, audio clarity, and shot variety.
So grab your tripod, prep your ingredients, and let your camera roll — your next viral recipe video starts now! 🍽️📲
📢 Affiliate Disclosure
This post may contain affiliate links. If you purchase something through one of these links, I may earn a small commission—at no extra cost to you. I only recommend tools and gear I genuinely believe will help you create better cooking videos. Your support helps me keep creating helpful content like this!
👩🍳 About Me
Hi, I’m Sujith—content creator, food enthusiast, and tech-savvy gear reviewer. I help aspiring chefs and vloggers turn their kitchens into mini studios with easy guides and practical gear tips. Whether you’re shooting on a smartphone or upgrading to a mirrorless camera, my goal is to help you share your passion for food—beautifully and effortlessly.